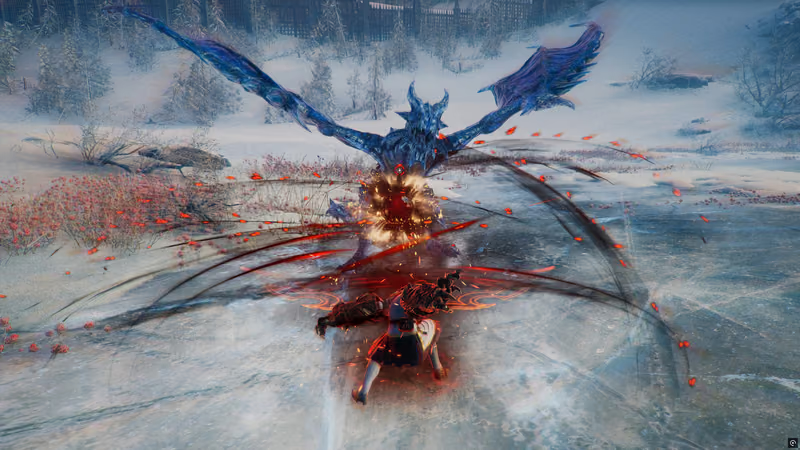
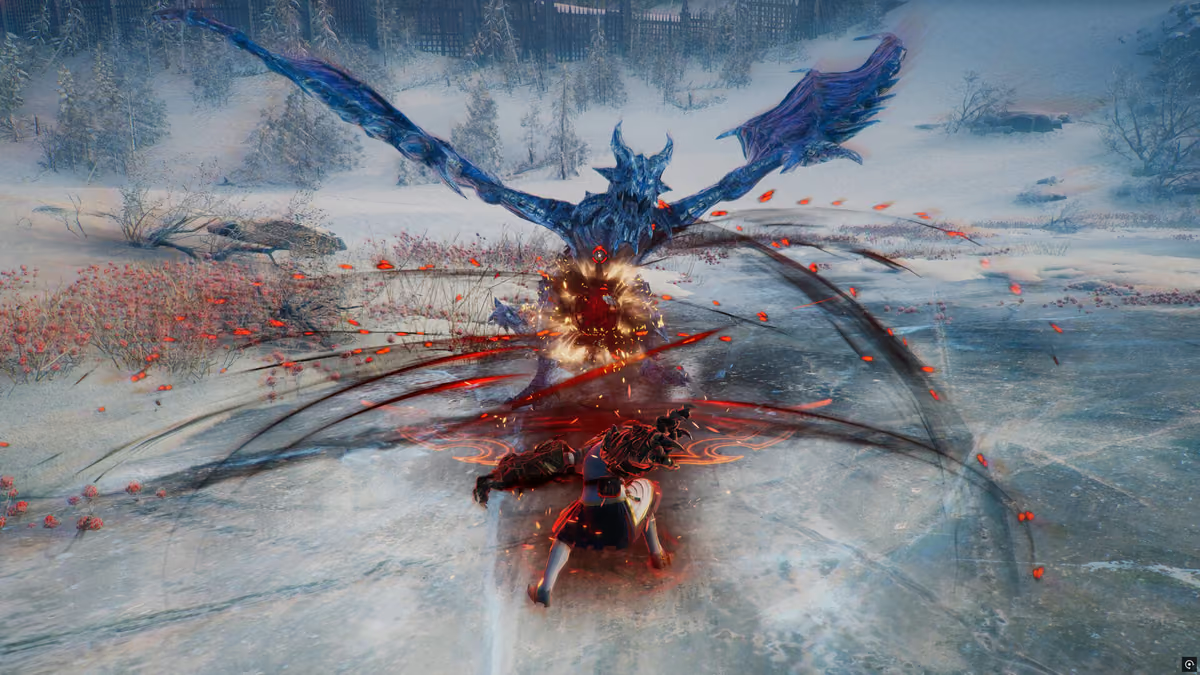
Sword & Shield is the dedicated tank weapon in Throne and Liberty — the only weapon type built around block, taunt and aggro management rather than damage. It's a mandatory pick for the role, and this guide covers the standard Templar pairing (Sword & Shield + Wand), the community's go-to sustain-focused tank build, plus the Crusader variant (Sword & Shield + Greatsword) for groups that need more party damage out of their tank slot. Both already showed up as A-tier picks in our own weapon combo tier list — this is the deeper build behind that ranking.
Build overview
The job of a Sword & Shield tank isn't to deal damage, it's to hold aggro and keep the group alive — every stat and skill choice below is judged against that single question. Sword & Shield brings the taunts, blocks and the passive kit that makes threat generation reliable; the second weapon decides whether you lean into survivability and party utility (Wand) or into damage redirection and offensive buffs (Greatsword). Both are viable, and which one you pick usually comes down to whether your group already has a dedicated buffer.
Stat priorities
| Stat | Priority | Role |
|---|---|---|
| Perception | 1 | Crowd control chance — keeps taunts and stuns landing reliably |
| Strength | 2 | Max HP and general survivability |
| Dexterity | 3 | Evasion, plus a secondary boost to CC chance |
Community guides don't fully agree on the exact split between these three, but Perception and Strength consistently sit at the top across sources — Dexterity is the stat most guides treat as a flexible third pick depending on the content. Beyond the three core stats, Max Health, Cooldown Speed, Damage Reduction and Shield Block Chance are the traits and rolls worth chasing on gear.
Rotation (Templar — Sword & Shield + Wand)
The Templar opener is built to grab aggro on the whole pull immediately, then settle into a loop that keeps threat, damage mitigation and party sustain running at the same time:
Opener: Piercing Attack (gap closer) → Provoking Roar (AoE taunt) → Whirling Shield (AoE aggro plus a block window) → Concentrated Barrier (defensive shield) → Time for Punishment (buff on your DPS, debuff on the target).
Sustained loop: weave in Touch of Despair and Curse Explosion for steady damage-over-time pressure so you're not pure dead weight on the meter, use Swift Healing and Clay's Salvation to cover your own sustain instead of leaning entirely on a healer, and hold Stalwart Bastion as a group-wide protection cooldown for the pull's most dangerous mechanic rather than using it on cooldown.
This is close to how the Templar build plays out in community guides on the combo, and it lines up with what our own PvE weapon tier list already flagged: Sword & Shield + Wand's real strength is that it covers tanking and party utility with the same two weapons, without needing a dedicated support to fill the gap.
Gear, runes and traits
- Weapons: Oath of Justice (sword) is the commonly cited best-in-slot sword for this build; pair it with a wand like Stonegrave's Annihilation for the Templar setup.
- Weapon runes: Dexterity, Attack Speed or Perception, and Shield Block Penetration Chance on both weapons.
- Artifact set: Dark Sovereign is the standard pick — it boosts Damage Reduction and Shield Block Chance directly, the two stats a Sword & Shield tank leans on hardest.
- Armor: a mix of Azure Sky Apostle and Blizzard Overture (2 pieces each) shows up repeatedly in community gear lists for this role.
- Accessories: necklace rolled for Max Health and Dexterity, rings for Shield Block Penetration or Cooldown Speed, belt for either Move Speed + Max Health or Damage Reduction + Max Health depending on the fight.
- Traits: prioritize Max Health, Buff/Debuff Duration, Evasion, and Cooldown Speed across your armor pieces.
Variant: Crusader (Sword & Shield + Greatsword)
Swap the Wand for a Greatsword and the build shifts from "support-leaning tank" to "damage-redirecting tank." The Greatsword's Devoted Sanctuary is the reason to run this variant: it lets you pull roughly 70% of your group's incoming damage onto yourself while simultaneously boosting the party's damage output — a genuinely strong cooldown for progression content where your group needs more DPS uptime and can't afford to babysit mechanics.
Aggro combo: Shield Strike + Stunning Blow + Willbreaker + Cruel Smite, topped off with Provoking Roar for the initial taunt. On longer pulls, Strategic Rush + Shield Strike + Willbreaker + Cruel Smite works as a repeatable loop, with Whirling Shield, Concentrated Barrier and Immortal Pride filling the defensive gaps.
Gear and stat priorities carry over almost unchanged from the Templar build — same Perception/Strength/Dexterity core, same Dark Sovereign artifact set — just swap the wand for a greatsword like Ascended Pakilo Naru's.
Our own tier list also lists Sword & Shield + Bow as a viable support-leaning tank pick for groups that want stable ranged utility instead of either of these two — worth testing if neither Wand nor Greatsword fits your group's comp.
Common mistakes
- Playing the Wand purely as a healbot. The Templar variant is a hybrid — skipping Time for Punishment's offensive use or never weaving in Touch of Despair/Curse Explosion wastes real damage potential for no extra survivability.
- Skipping Shield Block Penetration Chance on runes and rings. It's easy to overlook next to flashier offensive stats, but it directly affects how much of your block mitigation actually lands.
- Hoarding Stalwart Bastion. Saving your group-wide protection cooldown too long means eating a mechanic you could have blocked — use it proactively on known dangerous phases, not reactively after damage is already taken.
- Running Crusader without committing to Devoted Sanctuary's timing. The skill's value depends on using it right before a heavy damage phase, not on cooldown — misusing it turns a strong buff into a wasted GCD.
Is Sword & Shield + Wand (Templar) better than Sword & Shield + Greatsword (Crusader)?
Neither is strictly better — Templar leans into party sustain and utility, useful when your group's healer needs backup, while Crusader trades that sustain for Devoted Sanctuary's damage redirection and party damage buff, which is stronger when your group already has healing covered and wants faster clears.
Can this build tank PvP sieges?
Yes, but the playstyle shifts — in open-world PvP, Sword & Shield tanks act more as formation breakers, using their taunts and blocks to disrupt enemy clusters and create openings for your own DPS rather than holding aggro on a single boss.
Do I need the exact best-in-slot weapons (Oath of Justice, Dark Sovereign) to tank effectively?
No — the artifact set and specific weapons matter for pushing into the hardest content, but the stat priorities (Perception, Strength, Dexterity) and the rotation itself carry most of the build's effectiveness even on more accessible gear.

End-game tester, 800+ hours in-game, Diamond rank. Every build is tested under real conditions before publishing. Specializes in min-maxing across genres — MMO tank and healer rotations, ARPG and gacha stat optimization, hero-shooter team comps — with a particular focus on how a meta actually shifts patch to patch, not just what topped the chart last season. Cross-checks every ranking against community consensus before calling anything S-tier.